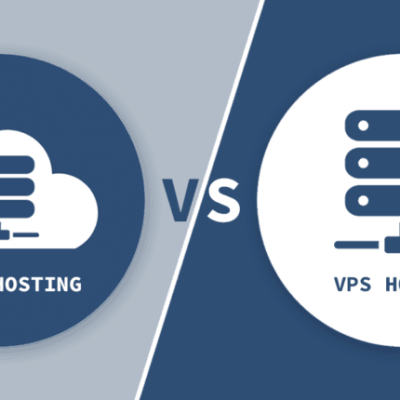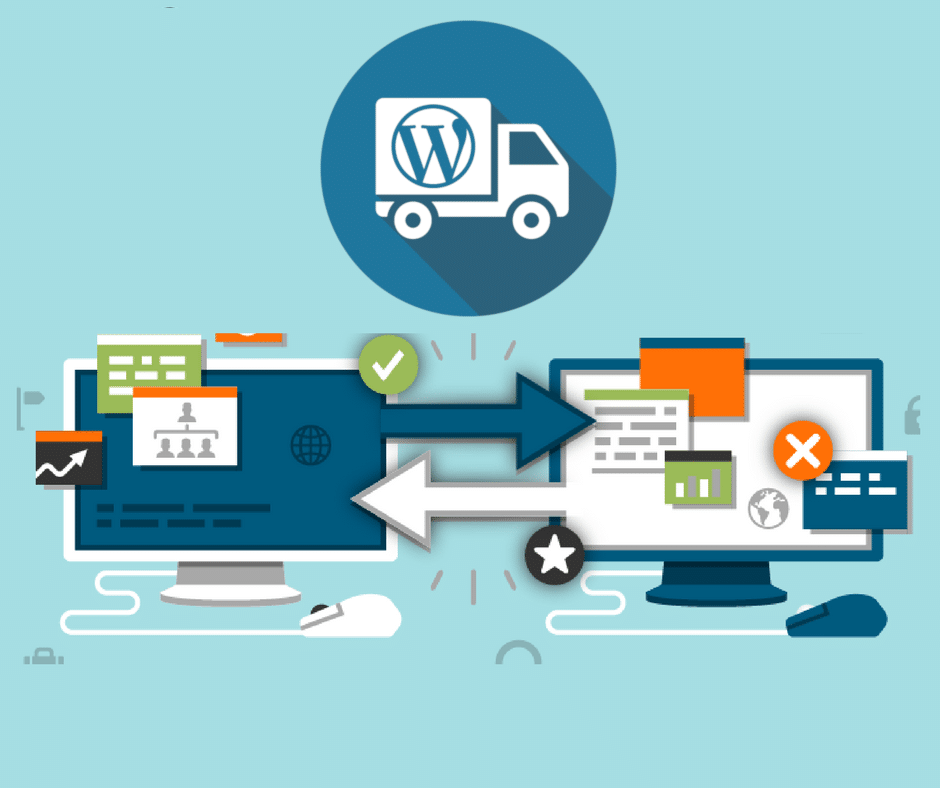
Migrating a WordPress website to a new host can seem like a daunting task. However, with the right guidance and a systematic approach, it can be a smooth and hassle-free process. In this step-by-step guide, we will explore the essential steps involved in successfully migrating your WordPress website to a new hosting provider.

1. Pre-Migration Preparation:
Before diving into the migration process, it is crucial to prepare your website and gather all the necessary information. This includes backing up your website files and database, ensuring your current website is up to date, and taking note of any custom settings or configurations that may need to be replicated on the new host.

2. Choosing a New Hosting Provider:
Selecting the right hosting provider is a critical decision that can impact the performance, security, and overall success of your website. Evaluate different hosting options based on factors such as pricing, server specifications, customer support, and user reviews. Consider whether shared hosting, VPS, or dedicated hosting would best suit your needs.

3. Setting Up the New Hosting Account:
Once you have chosen a new hosting provider, it's time to set up your new hosting account. This involves creating a new account, selecting a domain name, and configuring the server settings. Ensure that the new host meets the minimum requirements for running WordPress, such as the supported PHP version and database type.

4. Transferring the Files:
To migrate your website, you need to transfer all your WordPress files from the old host to the new host. This can be done using various methods such as FTP, cPanel File Manager, or SSH. Make sure to maintain the file structure and permissions during the transfer process.

5. Exporting and Importing the Database:
Next, you need to export your WordPress database from the old host and import it into the new host. This can typically be done using phpMyAdmin or a similar database management tool provided by your hosting provider. Pay attention to the correct database prefix and ensure the imported database is compatible with the new host.

6. Updating the DNS Records:
To ensure your website is accessible through the new host, you must update your domain's DNS records. This involves changing the nameservers or creating DNS A records to point to the IP address of the new hosting server. Keep in mind that DNS propagation may take some time, so it's essential to plan accordingly and inform your visitors about the potential downtime.

7. Testing and Troubleshooting:
After the DNS changes have propagated, it's crucial to thoroughly test your website on the new host. Check all the pages, functionality, and plugins to ensure everything is working correctly. If you encounter any issues, troubleshoot them by reviewing error logs, adjusting file permissions, or seeking assistance from your new hosting provider's support team.

8. Updating Permalinks and Settings:
During the migration process, it's common for permalinks and other settings to be reset. Double-check and update your WordPress settings, including permalink structure, site title, tagline, and any other custom configurations specific to your website. This step ensures your website retains its original functionality and appearance.

9. Redirecting Old URLs:
To maintain SEO rankings and prevent broken links, it is crucial to set up proper redirects from the old URLs to the corresponding new URLs. This can be achieved by using 301 redirects in your .htaccess file or by utilizing a plugin specifically designed for this purpose. Properly redirecting URLs will ensure that visitors and search engines are seamlessly directed to the new location of your content.

10. Monitoring and Optimization:
Once your website is successfully migrated to the new host, it's important to monitor its performance and make any necessary optimizations. Regularly check the website's speed, security, and overall functionality. Consider implementing caching mechanisms, optimizing images, and using a content delivery network (CDN) to enhance your website's performance.

Conclusion:
Migrating a WordPress website to a new host may seem complex, but by following this step-by-step guide, you can ensure a smooth and successful migration process. Remember to thoroughly prepare, select the right hosting provider, transfer files and databases correctly, update DNS records, test and troubleshoot, update settings, redirect old URLs, and monitor and optimize your website post-migration. With proper planning and execution, you can seamlessly migrate your WordPress website to a new host and continue to provide an excellent user experience to your visitors.